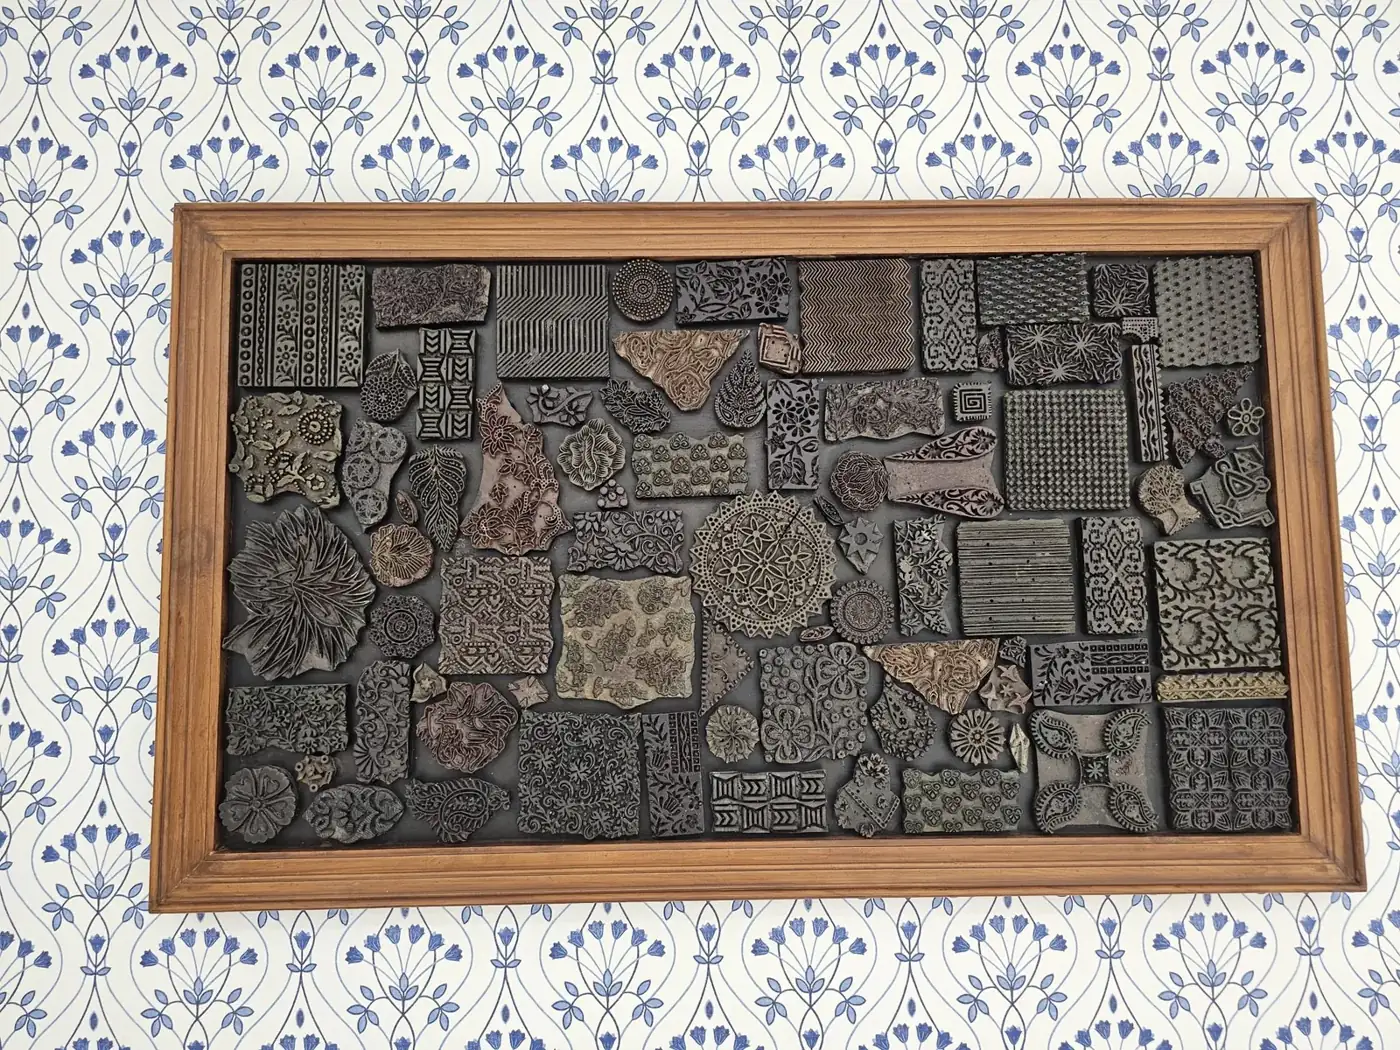
Carving the block is the part everyone pictures. Printing it is where the image actually appears, and where most of the frustration lives. Here is the full printing routine, from the inking slab to the drying rack.
What you need
- A carved block. Battleship gray linoleum, soft-cut vinyl or a mounted lino block all print the same way.
- Relief ink. Water-washable oil inks are a good middle ground: they stay workable for an hour and clean up with soap.
- A brayer. A soft rubber brayer about as wide as your block. A brayer that's too narrow leaves stripes.
- An inking slab. A sheet of glass or plexiglass with its edges taped.
- Paper. Smooth, slightly absorbent paper. Japanese papers such as hosho or kitakata print beautifully by hand; heavier printmaking papers want a press.
- A baren or wooden spoon for hand printing, or access to a proof press or etching press.
- A registration jig: even a sheet of paper with the block outline traced on it.
1. Roll out the ink
Squeeze out a line of ink about the width of the brayer at the top of the slab. Pull a small amount down and roll it out in several directions until you have an even, velvety film. Listen while you roll: a properly charged slab makes a soft hiss, and the surface looks like fine orange peel. If it sounds sticky and slurpy, you have too much.
2. Ink the block
Roll the brayer across the block in one direction, then turn the block and roll again at an angle. Several thin layers beat one thick one. Thick ink floods into the carved lines and fills in fine detail. Recharge the brayer from the slab between passes. Look at the block in raking light: the surface should have an even satin sheen with no bare patches.
3. Register the paper
Set the inked block face up in your registration jig. Hold the paper by opposite corners, line it up with the marks and let the middle drop onto the block first, then the edges. Once paper touches ink, don't slide it, or you'll get a ghosted double image.
4. Burnish by hand
- Anchor the paperKeep one hand flat on the sheet so nothing shifts.
- Work from the center outRub with the baren or spoon in small circles, pressing firmly.
- Peek at a cornerLift one corner gently. If the image looks weak, lay it back down and burnish that area again. As long as the opposite corner stays put, registration holds.
- Pull the printPeel it off in one smooth motion, starting from a corner.
5. Or pull it on a press
A proof press (a flatbed with a rolling cylinder, built for checking type) gives even pressure across a large block. Set the bed height so the cylinder just kisses a sheet of paper on the block, then add a sheet of newsprint packing at a time until solid areas print fully black. An etching press works too: use a felt blanket and back off the pressure well below intaglio settings, or you'll crush the block's edges into the paper.
6. Dry and sign
Lay prints flat on a drying rack or clip them to a line. Water-washable oil inks are touch-dry in a day or two and fully cured in about a week. Sign in pencil below the image: edition number at left (for example 4/20), title in the middle, signature at right.
Troubleshooting
| Problem | Likely cause | Fix |
|---|---|---|
| Speckled, grainy solids | Not enough ink, or the block isn't saturated yet | Add another thin pass of ink; keep proofing |
| Fine lines filled in | Ink too thick or too loose | Roll thinner; add a touch of magnesium carbonate to stiffen ink |
| Halo around shapes | Paper shifted, or too much ink | Use a jig and roll less ink |
| Ink in the carved areas | A soft brayer dipping into wide gouges | Clear wide areas more deeply or use a firmer brayer |
| Embossed, torn paper | Too much press pressure | Remove packing; lower the bed |
Where linocuts go from here
Once a single color comes easily, try a reduction print, where you carve and print the same block over and over, lightest color first. It is the most nerve-racking and satisfying technique in relief printing, because each new state destroys the last. For printed cards and invitations, short linocut editions are still one of the most personal things you can send. Pair them with the ideas in our mail art guide.
Questions
Can I print a linocut without a press?
Yes. A wooden spoon, a baren or even the back of a smooth jar lid will burnish a linoleum block onto thin paper. Thin Japanese papers take the ink most easily by hand.
Should I use water-based or oil-based ink?
Water-based ink cleans up with soap and suits beginners, but it dries quickly. Oil-based or water-washable oil inks stay open longer, give richer blacks and are what most printmakers move to.
Why is my print patchy?
Usually too little ink, ink rolled too thin or uneven pressure. Charge the brayer until it makes a soft hiss on the slab and add one more pass of ink to the block before printing.